Master Video Editing in DaVinci Resolve
Sep-16-2024
Transforming your videos to a professional caliber might appear intimidating, but with the proper tools and methods, anyone can enhance their video production quality. DaVinci Resolve stands out as one of the most powerful, versatile, and accessible video editing software available. Whether you're a novice or an experienced editor, our guide will help you navigate DaVinci Resolve's features and transform your raw footage into stunning, polished videos.
Getting Started with DaVinci Resolve
Before diving into intricate editing workflows, familiarize yourself with the software's interface. DaVinci Resolve can initially appear overwhelming due to its extensive array of features. Here’s a step-by-step guide to get you acquainted:
- Download and Install: Visit the official DaVinci Resolve website, download the latest version, and follow the installation instructions.
- Workspace Overview: Open the software and take a tour of the workspace. Key areas include the Media Pool, Edit Page, Fusion Page, Color Page, Fairlight Page, and Deliver Page.
- Importing Media: Load your footage by dragging and dropping your files into the Media Pool. Utilize smart bins and folders to organize your media effectively.
These initial steps ensure you start with a solid foundation, enabling a smoother editing process.
Editing Techniques and Tools
Understanding the basic and advanced editing tools in DaVinci Resolve allows you to manipulate your footage creatively:
- Cut Page vs. Edit Page: The Cut Page is ideal for quick edits, while the Edit Page offers more detailed control. Learn when to use each for optimal efficiency.
- Timeline Navigation: Use the timeline to arrange your clips. Master shortcuts for trimming, splitting, and moving clips to save time.
- Transitions and Effects: Access the Effects Library to add transitions and visual effects. Experiment with various options like cross-dissolve, wipes, and fades.
- Multicam Editing: For projects involving multiple camera angles, use the Multicam feature to sync and switch between different shots seamlessly.
Dedicated practice with these tools will significantly increase your editing proficiency.
Color Correction and Grading
DaVinci Resolve is renowned for its advanced color correction capabilities:
- Primary Corrections: Start with the Color Page's primary adjustments – lift, gamma, gain, and offset controls allow you to correct exposure and white balance.
- Color Wheels and Curves: Enhance the aesthetic appeal with color wheels and curves. Adjust the shadows, midtones, and highlights to achieve a specific look.
- Nodes and Windows: Use nodes for complex grading workflows. Add windows to isolate and adjust specific areas within your frame.
- LUTs (Look-Up Tables): Apply LUTs for quick but effective color grading. DaVinci Resolve supports custom and pre-installed LUTs for various styles.
Consistently applying these techniques will ensure your videos maintain a professional look and feel.
Audio Editing and Mixing
Audio quality is equally crucial to your video's success. DaVinci Resolve’s Fairlight Page offers all you need for pro-level audio editing:
- Importing Audio: Load audio files and sync them with your video tracks. Use markers to manage audio clips efficiently.
- Basic Adjustments: Perform fundamental edits like cutting, fading, and looping. Adjust levels to balance the audio throughout your video.
- Noise Reduction: Utilize Fairlight’s noise reduction tools to remove unwanted background sounds and enhance clarity.
- Advanced Mixing: Mix multiple audio tracks using EQ, compression, and reverb tools. Create a cohesive sound that matches your video’s tone.
Effective audio editing elevates the overall production quality of your videos.
Exporting Your Final Product
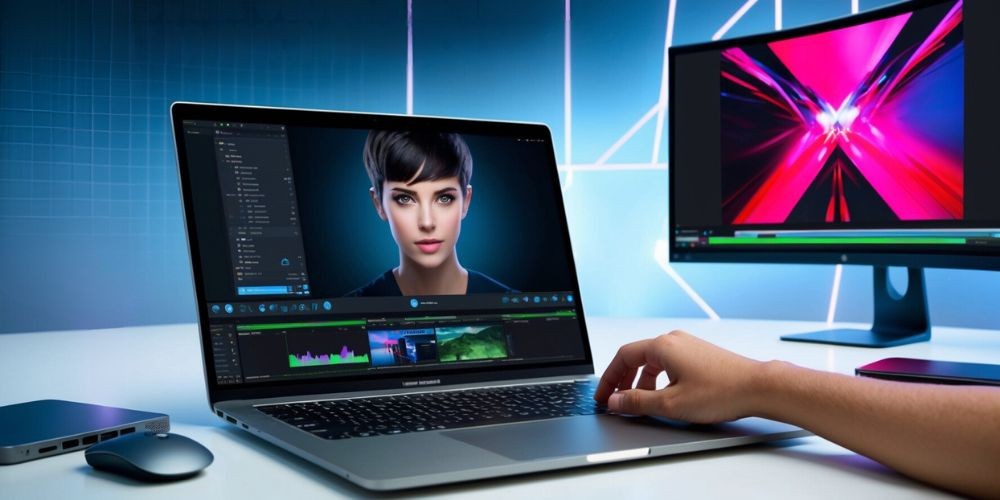
After completing your edits, it's time to export your video. Follow these steps to ensure the best output quality:
- Choose Export Settings: Navigate to the Deliver Page. Select the appropriate format, resolution, and codec based on your platform needs – YouTube, Vimeo, DVD, etc.
- Render Queue: Add your project to the render queue. Batch processing allows you to export multiple projects sequentially.
- Optimized Media: Prioritize creating optimized media files during the export process to ensure smooth playback and easy sharing.
By mastering the export settings, you guarantee that your audience experiences your video precisely as intended.
DaVinci Resolve equips you with the tools to produce high-quality video content that stands out. With continuous practice and exploration of its extensive features, you will soon edit videos like a professional with ease and confidence.


