Mastering Adobe Photoshop: A Beginner's Guide to Essential Tools
Sep-12-2024
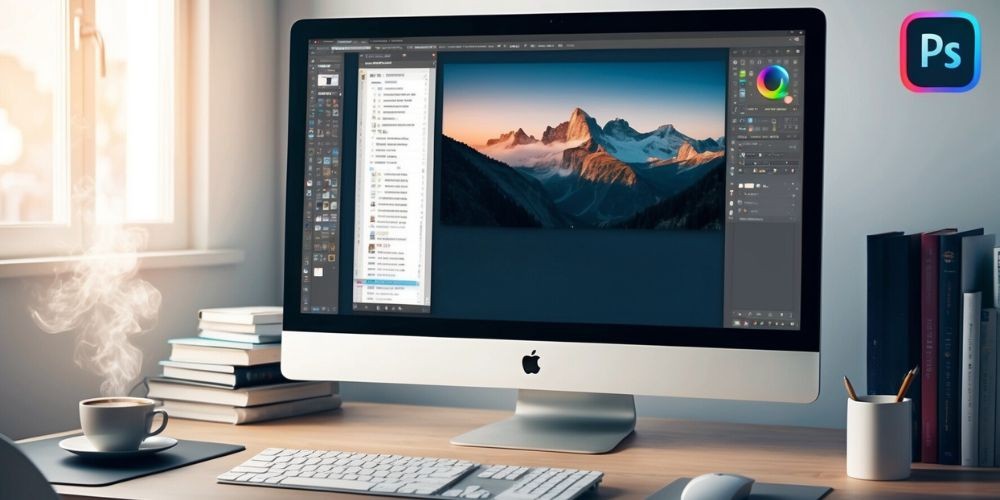
Experiencing Adobe Photoshop for the first time can be both exciting and daunting due to its extensive range of tools and features. Thankfully, starting with the basics makes this process more manageable and enjoyable. This guide aims to familiarize beginners with the essential tools in Adobe Photoshop, their functionalities, and how to best utilize them to enhance your digital projects. Whether you are aiming to touch up photos, design graphics, or create digital artwork, understanding these foundational tools is your first step toward mastering this powerful software.
Understanding the Workspace
Before you delve into the myriad tools available, it's crucial to get comfortable with Photoshop’s workspace. The workspace is where most of the magic happens, and understanding how to navigate it will save you a great deal of time and frustration.

- Toolbar: Located usually on the left side of the screen, the toolbar houses all the tools you’ll use for editing.
- Options Bar: Just below the menu bar, this provides customization options for the tool currently selected.
- Panels: Found on the right; these include layers, adjustments, and other palettes critical for editing.
- Canvas: The central area where your image or project resides while being edited.
Familiarizing yourself with these sections can significantly boost your efficiency in using Photoshop.
Essential Tools for Beginners
Selection Tools
Selection tools are fundamental in Photoshop as they allow you to isolate parts of your image for editing.
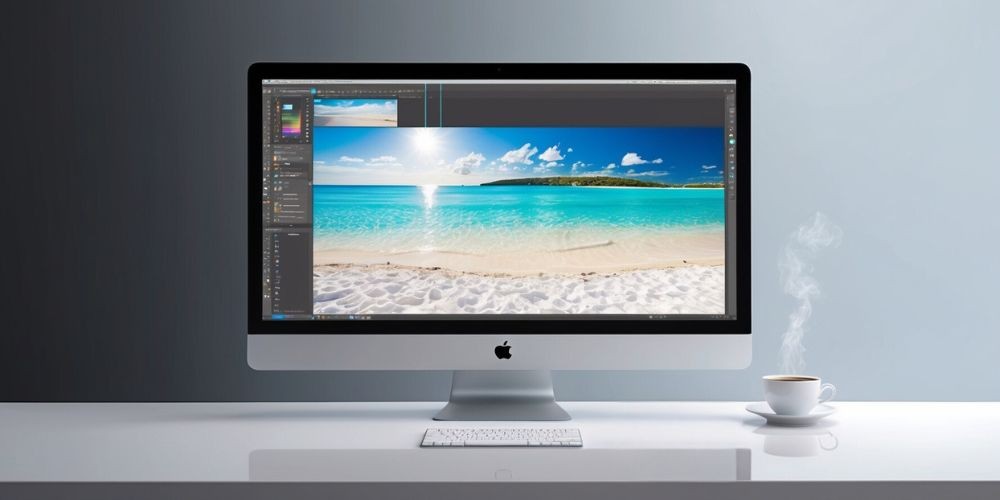
- Marquee Tool: Used to select rectangular or elliptical areas. Simply click and drag to create a selection.
- Lasso Tool: Offers freehand, polygonal, and magnetic options to make more detailed selections.
- Magic Wand Tool: Selects areas based on color. Adjust the tolerance to make it more or less sensitive.
- Quick Selection Tool: Quickly fill in a selection as you paint over areas with this brush-like tool.
Editing and Painting Tools
Once you have your selection, the following tools come in handy for the actual editing and manipulation of images:
- Brush Tool: Offers a variety of brushes and styles. Great for painting and retouching areas of your image.
- Eraser Tool: This function is like a brush to remove unwanted elements from your image.
- Clone Stamp Tool: Perfect for duplicating parts of your image. Use it for retouching or creating patterns.
- Healing Brush Tool: Blends the sampled area with the target area for seamless corrections.
Working with Layers
Layers are one of the most powerful features in Photoshop, offering a non-destructive editing process. Each layer can be edited independently without affecting others, allowing for a flexible and creative workflow.
- Layer Panel: This is where you manage your layers, create new ones, and set blending modes.
- Adjustment Layers: Apply color and tonal adjustments without permanently changing your image.
- Layer Masks: Enable selective editing by concealing part of a layer without deleting it.
- Smart Objects: Preserve an image’s source content, enabling non-destructive editing.
Understanding and utilizing layers effectively will significantly elevate your Photoshop skills.
Adjustment Tools
Adobe Photoshop comes with a range of adjustment tools that can modify image properties like color, brightness, and contrast, to name a few:
- Levels: Adjusts brightness and contrast using histograms.
- Curves: Provides more precise control over tonal adjustments.
- Hue/Saturation: Alters the overall color tones and intensity.
- Color Balance: Tweaks the color balance to correct or enhance the image.
- Exposure: Controls the exposure, offset, and gamma correction.
Mastering these tools will help you in achieving the exact look and feel you aim for in your projects.
Saving and Exporting Work
After all is said and done, you'll need to save and export your work. Photoshop offers several options depending on your final use case:
- PSD: The native file format of Photoshop. It preserves all layers and adjustments.
- JPEG: A common format for images, though it compresses data and can lose quality.
- PNG: Preserves quality and supports transparency but produces larger file sizes.
- TIFF: High-quality format suitable for printing.
- Export As: Allows you to export your work in various formats and sizes simultaneously.
Always choose the format that best fits your project requirements to ensure the highest quality output.
Conclusion
Mastering Adobe Photoshop begins with understanding its essential tools and workspace. This guide has covered the basics from selection tools, layers, and adjustment tools to saving and exporting your finished projects. With these essential skills mastered, you're now prepared to delve into more advanced features and techniques in Adobe Photoshop. The key to truly mastering Photoshop lies in regular practice and continuous learning, so don't hesitate to experiment and expand your skillset with each new project you undertake.


